[Complete] How To Install Laravel Livewire - Full with video clips 480p!
Datatables with Livewire in Laravel 8 Tables are an essential element in any modern web application. They help to organize and present data in a structured, user-friendly manner. However, dealing with tables can be a cumbersome process, especially when it comes to implementing functionality such as sorting, filtering, and pagination. That's where Datatables come in. Datatables is a plugin for jQuery that provides advanced interaction controls to HTML tables. It's fast, flexible, and highly customizable. However, integrating Datatables into your Laravel application can be a daunting task, especially for beginners. Luckily, Laravel 8 comes with Livewire, a full-stack framework for Laravel that makes it easy to build reactive web interfaces. In this post, we will show you how to use Livewire to implement Datatables in your Laravel 8 application. What is Datatables? Datatables is a powerful jQuery plugin that allows you to add advanced interaction controls to HTML tables with minimal coding. Its features include: � Advanced sorting options: Datatables allows you to sort data in various ways, including multi-column sorting, custom sorting functions, and numeric sorting. � Pagination: Datatables lets you paginate large data sets into smaller, more manageable chunks. � Filtering: With Datatables, you can easily filter data by column, search term, or custom filter functions. � Inline editing: Datatables makes it easy to edit table data directly in the browser. � Customization: Datatables is highly customizable and can be styled to match your application's look and feel. What are the benefits of using Datatables with Livewire? Livewire is a full-stack framework for Laravel that allows you to build reactive web interfaces using simple, expressive syntax. By using Livewire to implement Datatables in your Laravel 8 application, you'll benefit from: � Reduced complexity: Livewire makes it easy to create complex UI components with minimal code. � Improved performance: Livewire eliminates the need for complex JavaScript interactions, resulting in faster load times and better performance. � Increased flexibility: With Livewire, you can easily create custom components that integrate seamlessly with Datatables, allowing you to build highly customizable tables. � Easy integration: Livewire seamlessly integrates with Laravel 8, making it easy to add Datatables functionality to your application without having to install any additional dependencies. Preparation Before we can start using Livewire to implement Datatables in our Laravel 8 application, we need to ensure that we have all the necessary requirements in place. These include: � A Laravel 8 application: If you haven't already, create a new Laravel 8 project using the following command in your terminal: ``` laravel new myapp ``` � Datatables: We'll be using the Datatables jQuery plugin in this tutorial, so make sure you have it installed. You can download Datatables from the official website or use a CDN. � Livewire: Livewire comes pre-installed with Laravel 8, so you don't need to install it separately. Installation Once you have all the necessary requirements in place, follow the steps below to install and configure Datatables with Livewire in your Laravel 8 application: Step 1 � Install Datatables The first step is to install the Datatables jQuery plugin. You can either download Datatables from the official website or use the CDN. For this tutorial, we'll be using the CDN. Add the following code to the head section of your HTML file: ``` ``` Step 2 � Create a Livewire component Next, we'll create a Livewire component that will display our Datatable. Run the following command in your terminal to create a new Livewire component named DataTable: ``` php artisan make:livewire DataTable ``` This will create a new DataTable.php file in the app/Http/Livewire directory. Open the file and replace its contents with the following code: ``` use Livewire\Component; class DataTable extends Component public function render() return view('livewire.data-table'); ``` This code defines a new Livewire component that will render a view named data-table. We'll create this view in the next step. Step 3 � Create the Datatable view Next, we'll create the view that will display our Datatable. Run the following command in your terminal to create a new view named data-table.blade.php in the resources/views/livewire directory: ``` mkdir -p resources/views/livewire touch resources/views/livewire/data-table.blade.php ``` Open the data-table.blade.php file and add the following code: ```
| Id | Name | |
|---|---|---|
| 1 | John Doe | john.doe@example.com |
| 2 | Jane Doe | jane.doe@example.com |
| 3 | Bob Smith | bob.smith@example.com |
| 4 | Susan Johnson | susan.johnson@example.com |
| Id | Name | |
|---|---|---|
| $user->id | $user->name | $user->email |
| Id | Name | |
|---|---|---|
| $user->id | $user->name | $user->email |
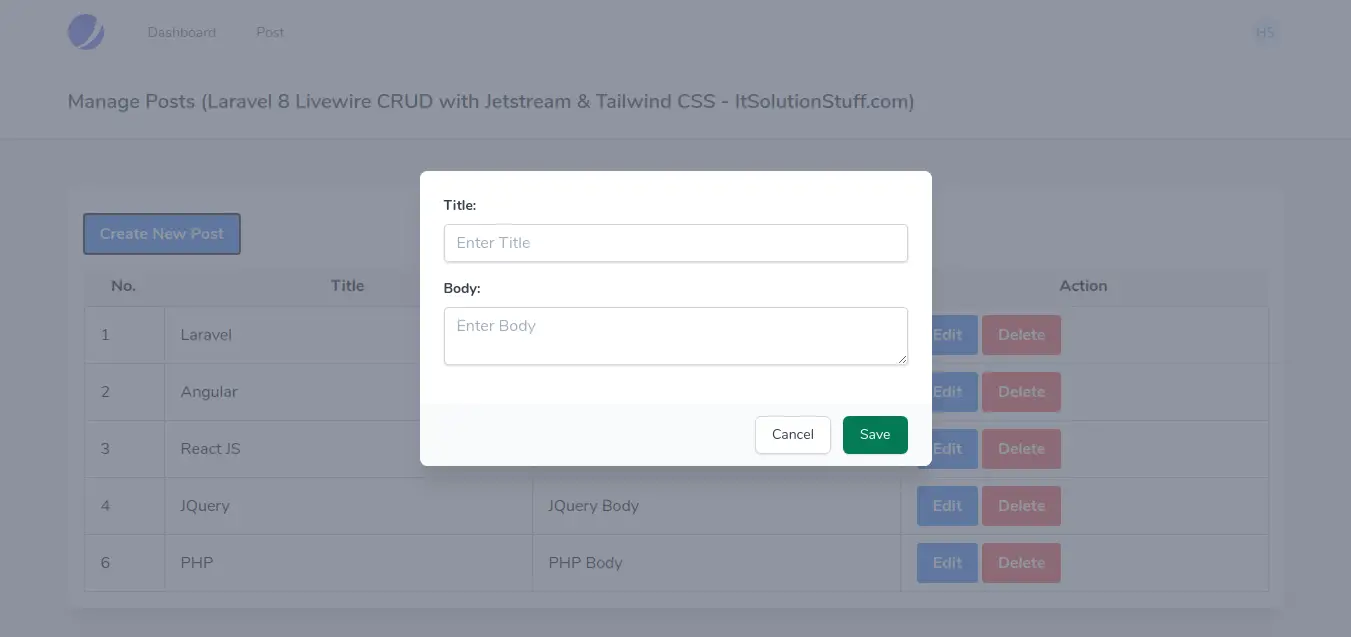
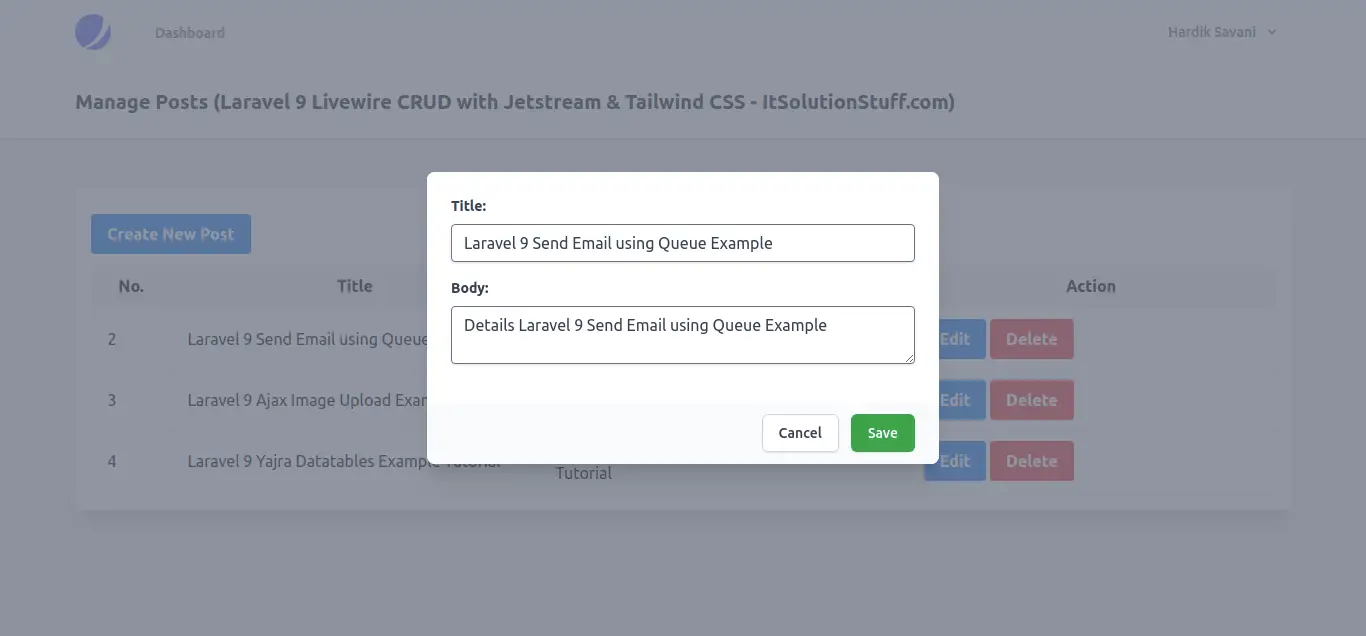
If you are looking for Laravel 8 Jetstream Livewire CRUD with Tailwind CSS Tutorial � Nuffing.com you've came to the right web. We have 5 Pictures about Laravel 8 Jetstream Livewire Crud With Tailwind Css Tutorial � Nuffing.com like Todo Lo Que Tenes Que Saber Sobre Livewire En Laravel - Latirus, Get Started With Laravel Livewire. | Nerd For Tech and also Get Started With Laravel Livewire. | Nerd For Tech. Read more:
Todo Lo Que Tenes Que Saber Sobre Livewire En Laravel - Latirus
 www.latirus.com
livewire laravel liveware dinamis ui chartjs latirus laracon statamic datatable
Get Started With Laravel Livewire. | Nerd For Tech
 medium.com
laravel livewire
Laravel 8 Jetstream Livewire Crud With Tailwind Css Tutorial � Nuffing.com
 nuffing.coutinho.net
laravel livewire crud jetstream tailwind
Datatables With Livewire In Laravel 8 | Webslesson
 www.webslesson.info
laravel livewire datatables implement point come
Laravel livewire. Livewire laravel liveware dinamis ui chartjs latirus laracon statamic datatable. Laravel livewire datatables implement point come
Tags: #Datatables With Livewire In Laravel 8 | Webslesson,#Todo Lo Que Tenes Que Saber Sobre Livewire En Laravel - Latirus, Get Started With Laravel Livewire. | Nerd For Tech,#Laravel 8 Jetstream Livewire Crud With Tailwind Css Tutorial � Nuffing.com
Related post:
👉 [Complete] How To Install Php Xdebug In Ubuntu , This Is The Explanation
👉 Install Node On Git Bash , This Is The Explanation
👉 [FULL] How To Install Node Js Lts - See The Explanation!
👉 How To Install Node Js Version 16 - This Is The Explanation!
👉 How To Install Laravel Youtube ~ Full With Videos [4K]!
👉 [Complete] How To Install Bluetooth On Windows 10 Hp Laptop ~ Here's The Explanation!
👉 How To Install Node On Debian 11 - Full With Visuals [480p]
👉 [FULL] How To Install Node Js Latest Version - This Is The Explanation
👉 [Complete] How To Install Apks On Quest 2 Without Sidequest - This Is The Explanation!
👉 How To Install Java Latest Version In Windows 10 - See The Explanation!
👉 How To Install Laravel With Docker - Here's The Explanation
👉 How To Install Node.js For Visual Studio Code , Full With Videos 720p!
👉 How To Add Prefix In Laravel Route , Full With Visuals 4K
👉 How To Install Cortana In Windows 10 Lite, This Is The Explanation!
👉 [FULL] How To Install Apps That Are Not Available In Your Country - See The Explanation!


Komentar
Posting Komentar